Canadians eat over 1 billion doughnuts a year – which wont surprise if you’ve driven through any major Canadian city as there is a doughnut shop on almost every city block.
The most popular of which is Tim Hortons – a household name for certain! If you’re Canadian, you have no doubt been through a Tim Horton’s drive-thru, tasted a double-double, known someone who has worked at Tim Hortons, and probably ordered at least one box of Timbits.
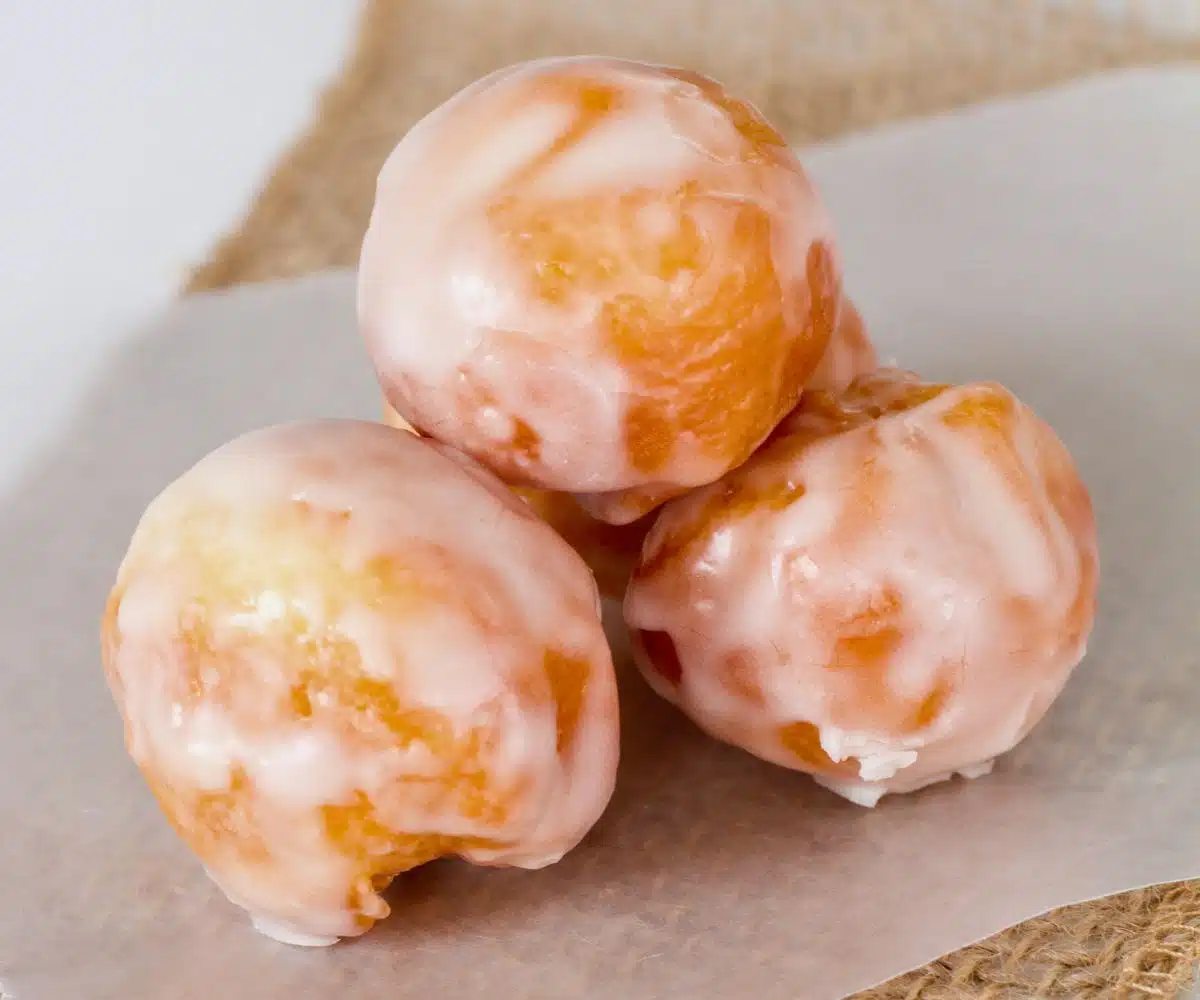
These classic doughnut holes come in chocolate, powdered sugar, honey dip, old fashioned, and more, and they are a staple of Canadian culture.
INGREDIENTS
For the Doughnuts:
2 ½ cups all-purpose flour
2 cups sugar
1 tbsp baking powder
½ tsp salt
2 tbsp butter melted
1 egg
1 cup milk
1 tsp vanilla extract
vegetable oil for frying
For the Glaze:
2 cups powdered sugar
¼ cup hot water
1 tsp vanilla extract

INSTRUCTIONS
Prepare the Dough:
In a mixing bowl, combine the flour, sugar, baking powder, and salt.
In a separate bowl, whisk together milk, butter, and egg until smooth. Pour the wet mixture into the dry ingredients and whisk until just combined.
Mix until a soft dough forms. Do not overmix; just combine until the ingredients are incorporated.
Frying the Timbits:
Take a deep, heavy-bottomed pan and add enough oil for frying. Place it over low to medium heat and let it heat until the oil reaches a temperature of approximately 350°F (175˚C).
Slowly drop in balls of batter using 2 spoons or a scoop and let them rise to the surface.
Fry 6-8 Timbits at a time for 3-4 minutes, turning them once halfway through, until they are golden brown and crispy. Using a skimmer, transfer the timbits from oil to a cooling rack. Line the cooling rack with paper towels first.
Glazing the Timbits:
In a separate bowl, mix the powdered sugar, hot water, and vanilla extract until you have a smooth glaze. You can add food coloring if desired to achieve the classic Tim Hortons colors.
While the Timbits are still warm, dip them into the glaze, ensuring they are evenly coated.
Place the glazed Timbits back on the parchment paper to allow the glaze to set.
Allow the glaze to harden, and then your homemade Timbits are ready to be enjoyed. Serve them fresh and warm.
Adapted from: chefspencil.com


Leave a Comment